


3stepacademy-learning All 12 courses
Introduction
 The high level of patient acceptance Earlier interception
-
Easier rehabilitations
-
Failures accepted by patients Failures easy to be solved
-
The new materials, like the CAD/CAM composite
-
The attention to gnathology
-
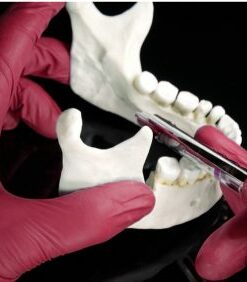
The determination of jaw position with anterior stop
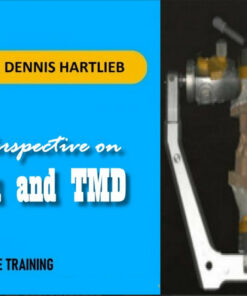
Diagnosis
 Dr Francesca Vailati provides all the elements necessary to make a differential diagnosis between erosion and parafunction.
-
Quantify the damage according to the degree of loss of dental structure by making a differential diagnosis through the analysis of incisal edge
-
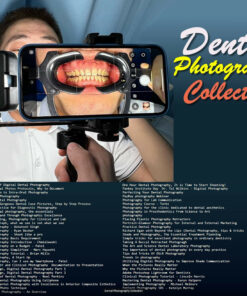
Plan the future aesthetic and functional result through a targeted wax-up and correct use of dental photographs
3STEP
Only logged in customers who have purchased this product may leave a review.
Related Products

Dental Video

Dental Video

Dental Video

Dental Video

Dental Video


Dental Video

Dental Video

Dental Video

Dental Video
Dental Video


Dental Video

Dental Video

Dental Video
Dental Video

Dental Video
Dental Video
Dental Video
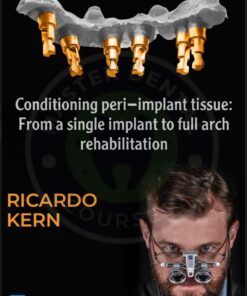
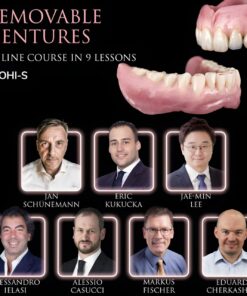
OHI-S Conditioning peri-implant tissue: From a single implant to full arch rehabilitation
Dental Video

Dental Video
Dental Video
Dental Video
OHI-S Implant-Perio Evolution: course of 10 webinars of implantology and periodontology


Dental Video


Dental Video

Dental Video
Dental Video
Dental Video

Dental Video


Dental Video


Dental Video
Dental Video
Dental Video
Dental Video
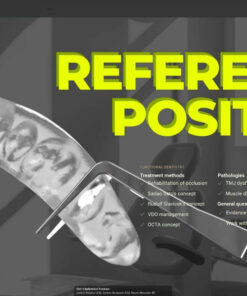
OHI-S Reference Position Centric Relation (CR), Centric Occlusion (CO), Neuro-Muscular RP
Dental Video
Dental Video

Dental Video
Dental Video
Dental Video


Dental Video
Dental Video

Dental Video

Dental Video
Dental Video
Dental Video

Dental Video
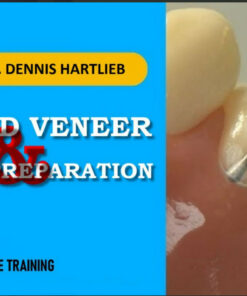
Precision in Laminate Ceramic Veneers: Tooth Preparation and Adhesive Cementation Techniques
Dental Video

Dental Video
Dental Video

Dental Video
Reviews
There are no reviews yet.